Yeah, the paint could peel, the glass could shatter
Let it rain 'cause you and I remain the same
When there ain't a crack in the foundation
Baby, I know any storm we're facing
Will blow right over while we stay put
The house don't fall when the bones are good
When the bones are good
- The Bones, by Marren Morris
Much like the foundation of a house, a good stock is the foundation of many recipes. It's a great way to add flavor and nutritional value to rice, quinoa, and other grains, build your own soup from scratch, make risottos, etc.
Principles of stock
- Stock can be made with or without bones. If you use only vegetables, it is vegan.
- You don't have to follow a specific recipe unless you are looking for a specific flavor.
- Stock is a great way to stretch the life of your vegetables, and extract nutrition and flavor out of things that were destined for the compost bin.
- Good stock doesn't take much effort, but it does take time.
- Stock lasts about 5 days in the refrigerator, and indefinitely in the freezer.
What to put in stock
The trick that I've found to making stock is to keep a container of vegetable trimmings in the fridge, add to it for about a week, then when you have time, use this stash to make your stock. This allows you to utilize things that would otherwise be waste to make great flavor, and keeps you from having to buy and store more vegetables specifically for this purpose. You can include almost any vegetable trimming, but here are some things that may help you make better stock.
Do not include these
- Moldy or rotting trimmings -- limp, wilted, or bruised items are fine, but do not include anything showing visible signs of mold or rot.
- Chili pepper trimmings, especially the seeds -- these may make your stock very spicy, and if you use it in a recipe where it reduces, it could turn out more spicy than you intended.
- Salt -- see above. You're better off seasoning your dishes as you cook them.
- Soft cheeses - gouda, cheddar, havarti, or anything else that melts can turn your stock into a mess.
Things that are great to include
Things you can include with caution
Make your stock!
Prep time: 3 minutes
Cook time: 8-10 hours
Post-cook time: 2 hours
Post-cook work: 10 minutes
Makes about 6-8 quarts of stock, but you can make a smaller batch with a smaller pot and fewer trimmings.
Dump your vegetable trimmings and bones into a big pot. Cover with water up to about 1 inch from the top of the pot.

Cover your pot and put on a back burner on medium-low heat. I use the 2nd dot on my stove's dial. You want a low simmer, but not a boil. Keep the pot on the heat overnight, or for about 8-10 hours.
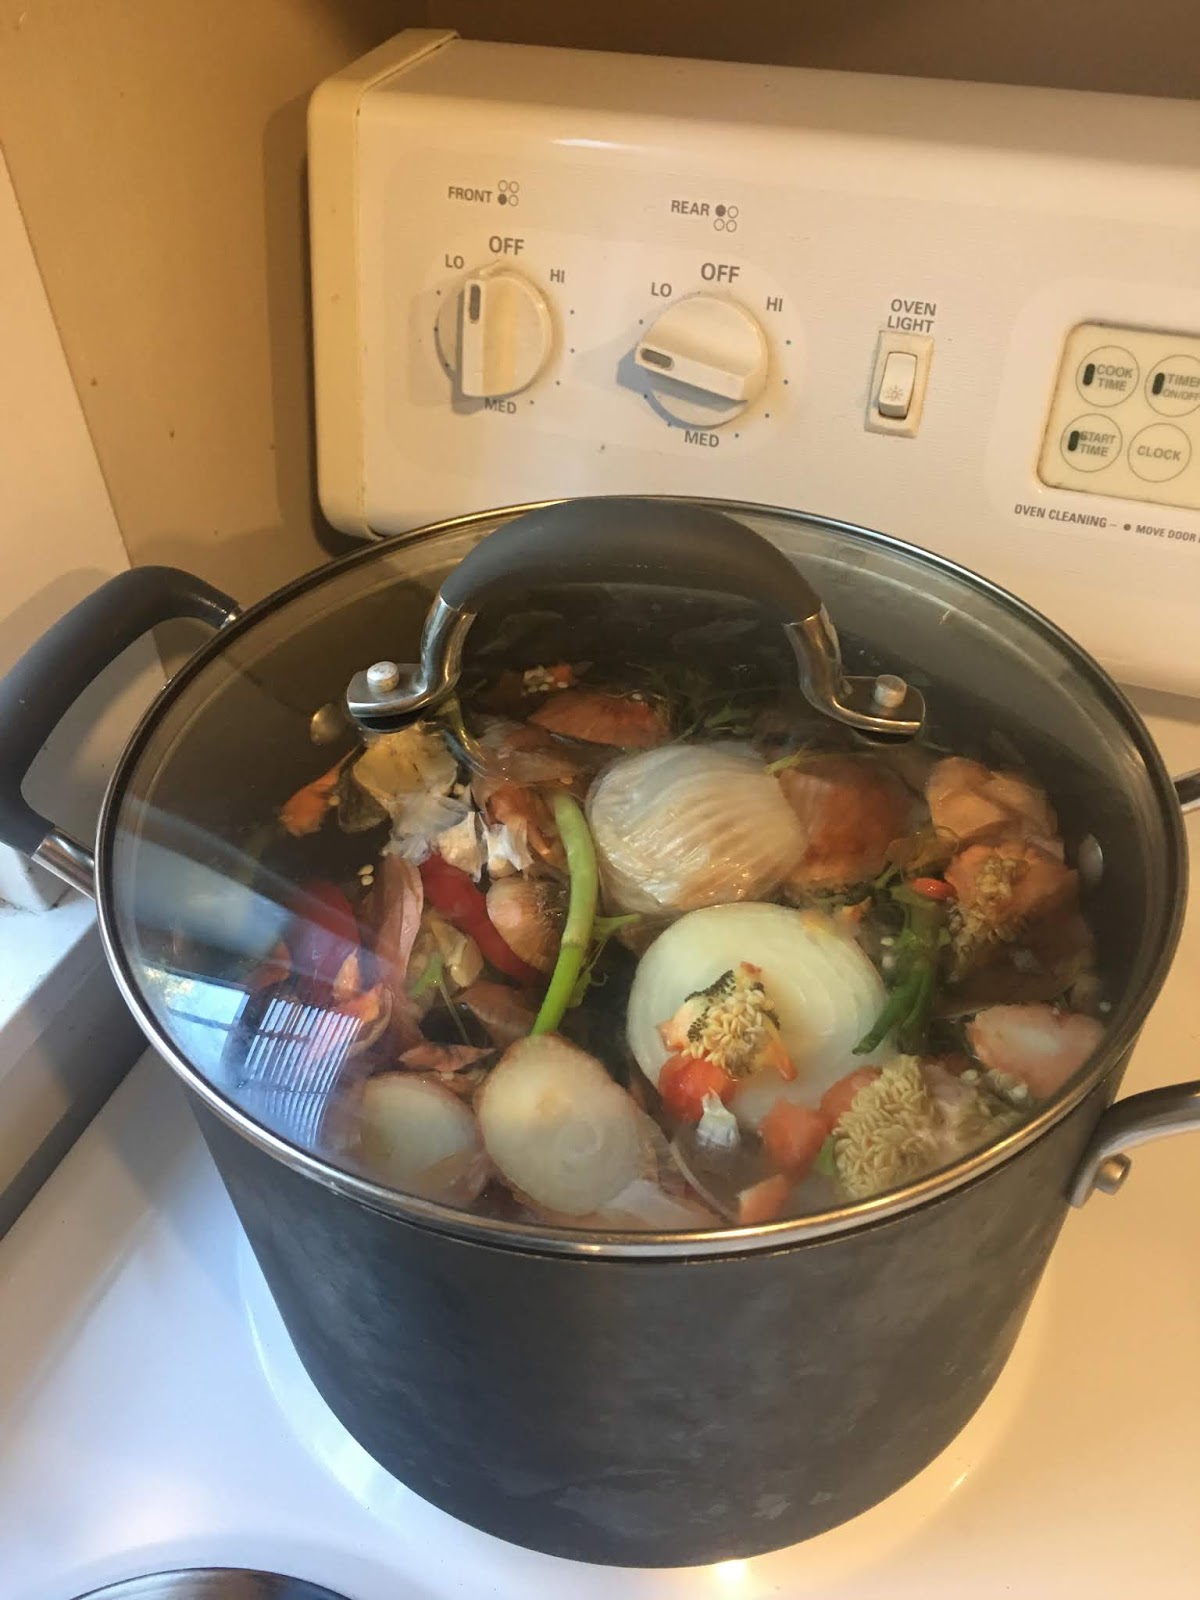
Let cool about 2 hours, then strain into storage containers. Keep some in the fridge for your upcoming meals and freeze the rest. This batch had a lot of carrot and red bell pepper, so it's a bit darker in color. It also had onion skins, garlic trimmings, green bean ends, and pork chop bones.

No comments:
Post a Comment